
Emails are one of the important functionalities of SharePoint. Often when we create our own development environment we have to create our own SMTP server or rely on our company’s SMTP server (which may not be accessible outside company’s firewall).
My preferred route is to use Gmail as SMTP relay server because it is easy to setup up, free and my development environment can be completely isolated from my company’s infrastructure. We just need a valid Gmail account and our development environment should be connected to Internet. J
Here are the steps.
-
Sign up for Gmail account if you don’t have one.
-
Change the settings of the Gmail account and turn on the access to the less secure apps.
-
Login to the SharePoint server (Windows 2008/2008 R2/2012/2012 R2) using admin account. The screen shots in this blog post are taken from Windows Server 2012 R2. If have already installed the SMTP server then skip the steps till 15.
-
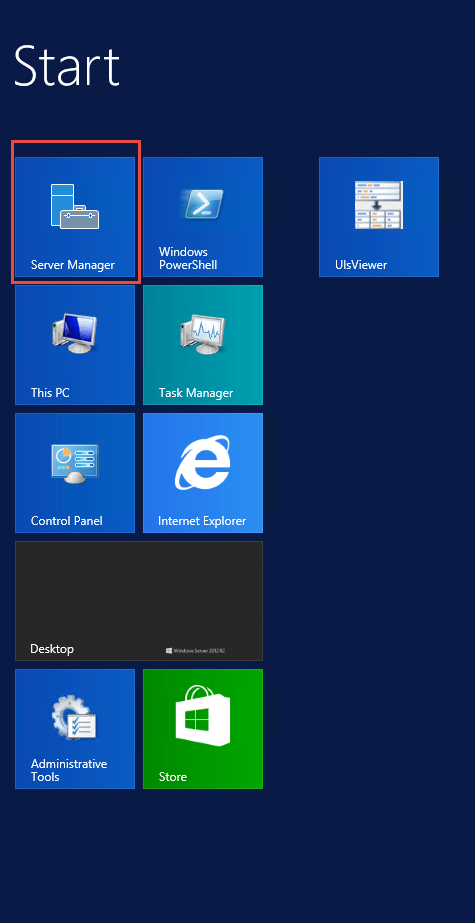
Install feature “SMTP Server” using server manager. Open the server manager.
-
Click on “Add roles and features”.

-
Click Next.

-
Select the “Role-based or feature-based installation” and click next.

-
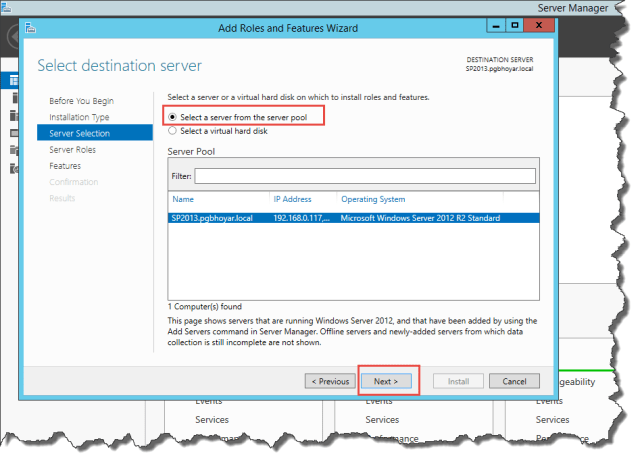
Select the “Select a server from the server pool” and click next.
-
Click Next in the “Server Roles”.

-
Scroll down and select “SMTP Server”.

-
A pop will show up to install the pre requisites. Click on “Add Features”.

-
Click Next.

-
Confirm the installation by click “Install”. The installation will take 2-5 minutes depending the server resources.

-
We will see following message after successful installation. Click “Close” to exit the wizard.

-
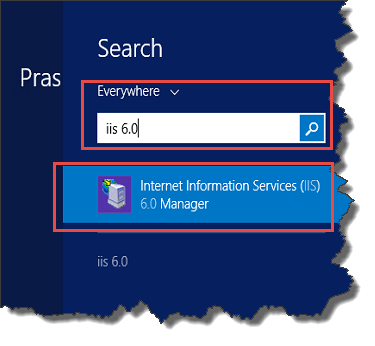
Now search for IIS 6.0 in the Search bar.
-
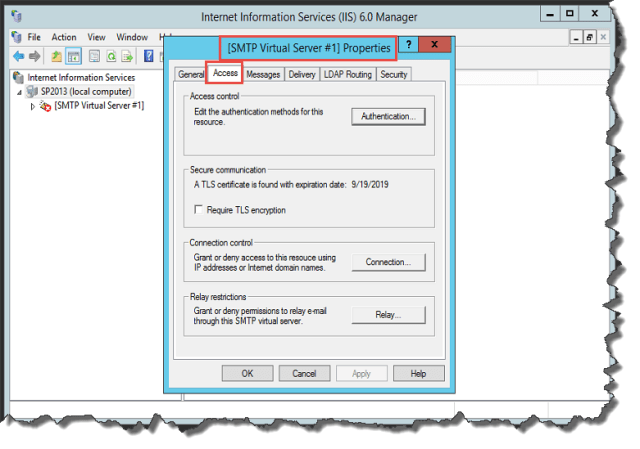
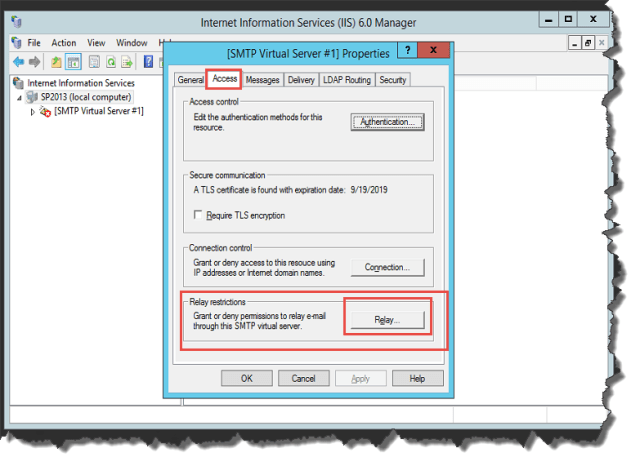
Expand the “Local Computer” and Right click on the “SMTP Virtual Server” and then click Properties.

-
Click on the “Access” Tab.
-
Under “Relay Restrictions” click on “Relay”.
-
Select the Check Box “All except the list below” and then click “OK”.

-
Then click on the “Messages” tab and make sure following settings are there.
- Limit messages size to (KB) = 2048
- Limit session size to (KB) = 10240
- Limit number of messages per connection to : 20
- Limit number of recipients per message to: 100
-
Badmail directory : C:\inetpub\mailroot\BadmailA

-
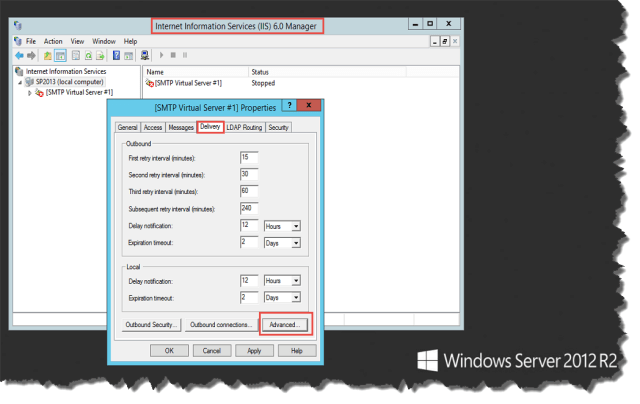
Click on the “Delivery” tab and then click on “Outbound Connections”.

-
Select 587 as TCP port instead of default 25 and then click “OK”.

-
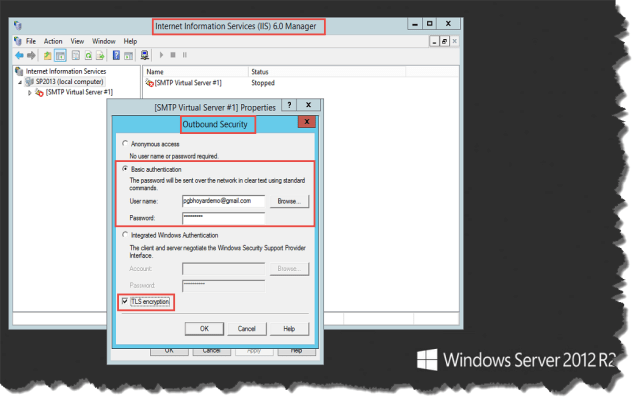
Click on “Outbound Security”.

-
Select “Basic authentication”. In the user name enter valid Gmail address and the corresponding password of the Gmail account. Select the check box of “TLS encryption” and then click OK.
-
Click on “Advance”.
-
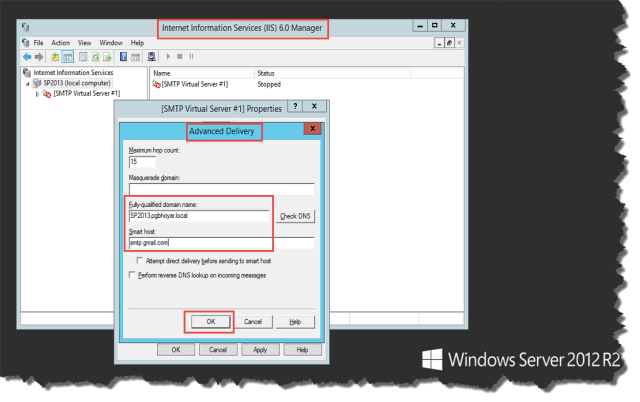
Enter the following information and then click OK.
- Maximum hop count: 15
- Fully-qualified domain name: FQDN of the server. If
-
Smart host : smtp.gmail.com
-
Click “OK” and Apply and then OK.

-
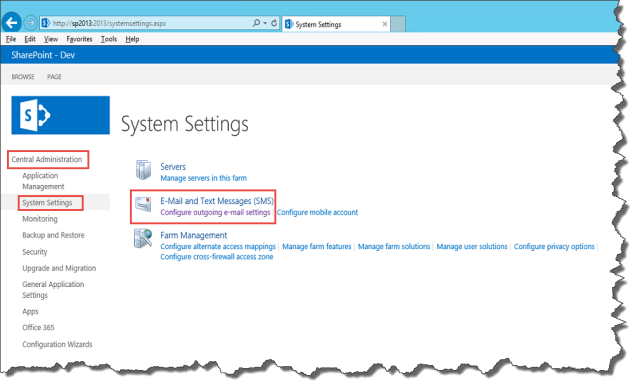
Now open the Central Administration ->System Settings->Configure outgoing e-mail settings. The following screen shots are from SharePoint 2013. The same steps can be used in SharePoint 2010.
-
Enter the fully qualified domain name of the server in the “Outbound STMP server” and then click “OK”.

- To test the outgoing emails are working, setup “Out Of The Box” alert on any SharePoint list or library.
Happy Learning. J

Great stuff again. Thanks for making time to write these articles. You will be my number one resource, Looking forward to more articles
LikeLike